Private PyPI repository on AWS - part 2
This post is the continuation of part 1.
After creating the repository, we can test it by publishing a package to it and then installing that package in another project. This can be done using poetry, the python package manager.

Create and publish a package
Create a project containing the following files, and define the dependencies with poetry commands
.
└── my_package
    ├── hello.py
    └── __init__.py

$ cat my_package/hello.py
def f():
    return 4

$ pyenv local 3.9.18
$ poetry init
$ poetry add requests boto3
We have used pyenv to set the virtual environment python version.
 pyenv
pyenvTo add our private PyPI repository to poetry
$ poetry config repositories.private-pypi \
    https://example-111122223333.d.codeartifact.us-west-2.amazonaws.com/private-pypi/
The URL is the endpoint URL from the Terraform outputs in part 1.
To connect to the PyPI repository, we need to get an authorization token which will be valid for only 12 hours. The IAM user we use for requesting the token requires a special IAM permission sts:GetServiceBearerToken.
I don't like to mess around with my root user, so I created a test user without a login profile just for testing.
module "test_user" {
  source  = "terraform-aws-modules/iam/aws//modules/iam-user"
  version = "5.37.0"

  name          = "test_user"
  force_destroy = true

  create_iam_user_login_profile = false
  create_iam_access_key         = true
}

resource "aws_iam_policy" "allow_sts_get_service_bearer_token" {
 name        = "AllowSTSGetServiceBearerToken"
 description = "Policy to allow sts:GetServiceBearerToken"

 policy = jsonencode({
    Version = "2012-10-17"
    Statement = [
      {
        Effect = "Allow"
        Action = "sts:GetServiceBearerToken"
        Resource = "*"
      },
    ]
 })
}

resource "aws_iam_policy_attachment" "attach_policy_to_user" {
 name       = "AttachPolicyToUser"
 users      = [module.test_user.iam_user_name]
 policy_arn = aws_iam_policy.allow_sts_get_service_bearer_token.arn
}

output "iam_access_key_id" {
  description = "iam_access_key_id"
  value       = module.test_user.iam_access_key_id
}

output "iam_access_key_secret" {
  description = "iam_access_key_secret"
  value       = module.test_user.iam_access_key_secret
  sensitive   = true
}
Remember to add this IAM user's ARN to codeartifact_readwrite_access_arns.
codeartifact_readwrite_access_arns  = [
  module.example_github_oidc_role.arn,
  module.test_user.iam_user_arn,
]
After terraform plan & apply, run the following to get the value for iam_access_key_secret
$ terraform output iam_access_key_secret
Setup the AWS commandline with iam_access_key_id and iam_access_key_secret.
$ aws configure
Now we can request for a token.
$ TOKEN=`aws codeartifact get-authorization-token --domain example --domain-owner 111122223333 --query authorizationToken --output text`
$ poetry config http-basic.private-pypi aws $TOKEN
We can then build the project and publish the resulting packages
$ poetry build -v
$ poetry publish -v --repository=private-pypi
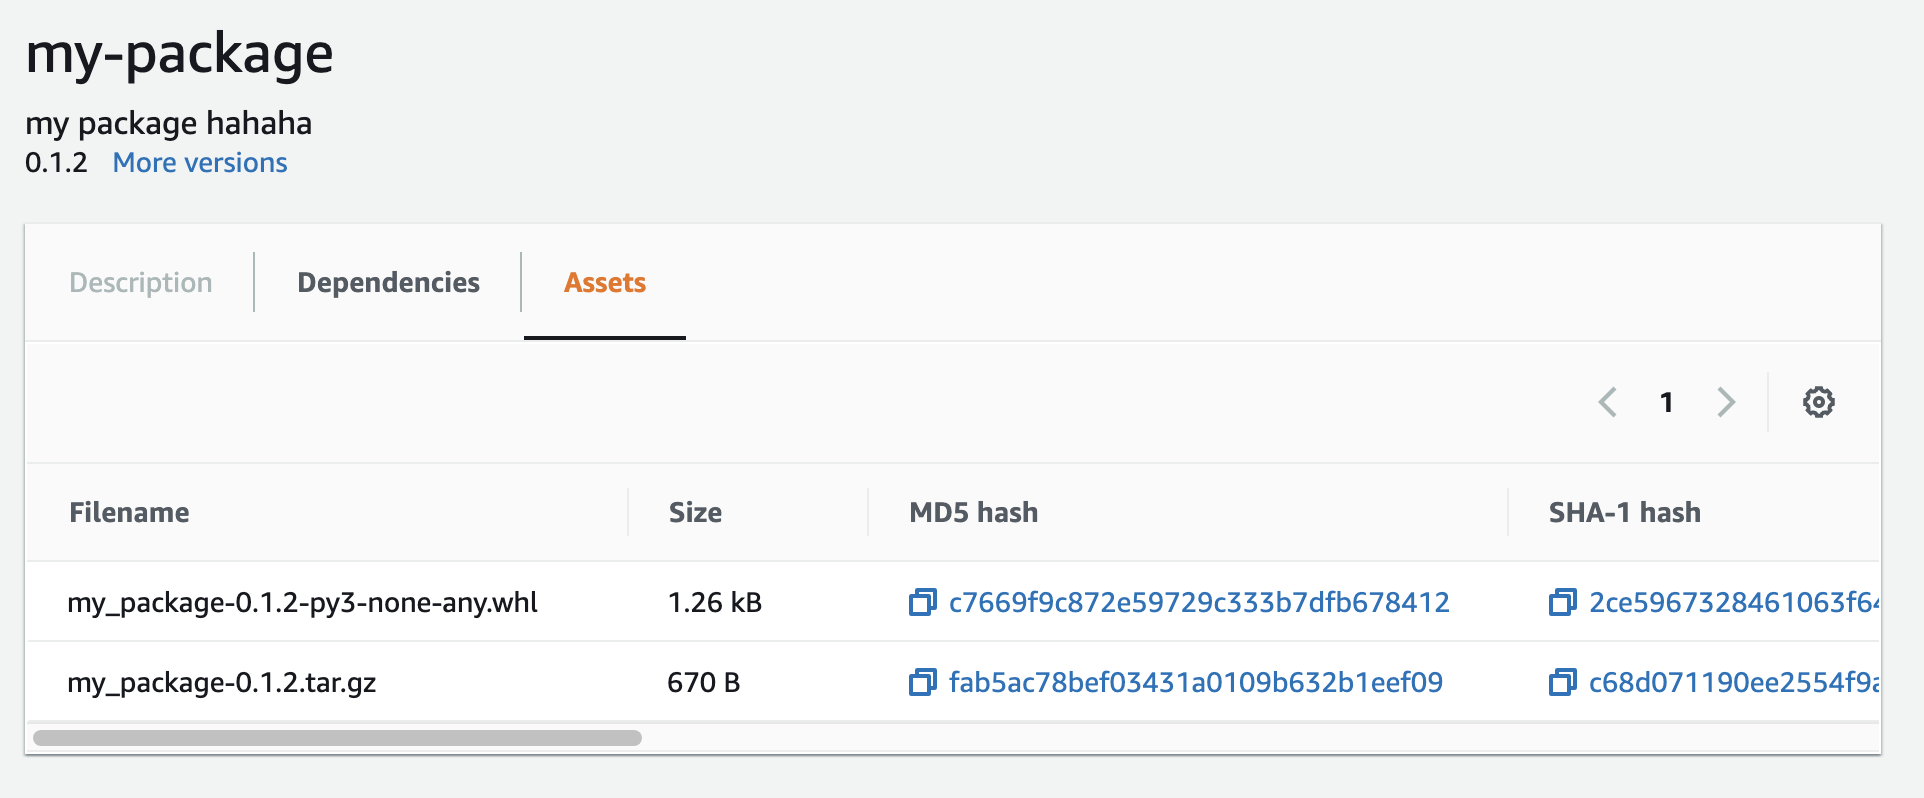
Login to AWS console, look for CodeArtifact service, browse into private-pypi repository and you should see
To be continued in part 3, installing from private PyPI.